
How to Clean Barber Trimmers Right
- Home
- Single Blog
How to Clean Barber Trimmers Right
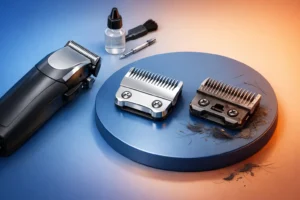
A trimmer that drags, heats up fast, or spits out a shaky line usually is not worn out – it is dirty. In a working shop, buildup happens quick. Hair dust, oil, product residue, and skin debris pack into the blade, slow the motor, and throw off the kind of detail work clients notice right away. If you want to know how to clean barber trimmers the right way, the goal is simple: protect performance, protect hygiene, and keep every lineup crisp.
For barbers, this is not a side task. It is part of the cut. Clean tools hit better, last longer, and help you stay consistent through a full day of appointments. For serious home users, the same rule applies. If you expect barber-level results, your maintenance has to match.
Why clean trimmers matter more than most barbers think
Dirty trimmers do more than look bad on the station. Buildup between the blade teeth changes how the blade moves. That can lead to pulling, uneven cutting, extra heat, and more strain on the motor. Over time, neglect turns a solid trimmer into a problem tool.
There is also the hygiene side. Even if you disinfect the exterior, trapped debris inside the blade assembly creates a weak point in your routine. In a professional setting, that is not a small issue. Clients notice whether your setup looks sharp, and they definitely notice if a trimmer feels rough on the skin.
The trade-off is time. Some barbers rush between clients and only do a quick brush-off. That is better than nothing, but it is not enough for daily shop use. A fast between-client clean and a deeper end-of-day clean is usually the sweet spot.
How to clean barber trimmers between clients
Between clients, speed matters. You do not need a full breakdown every time, but you do need a tight routine.
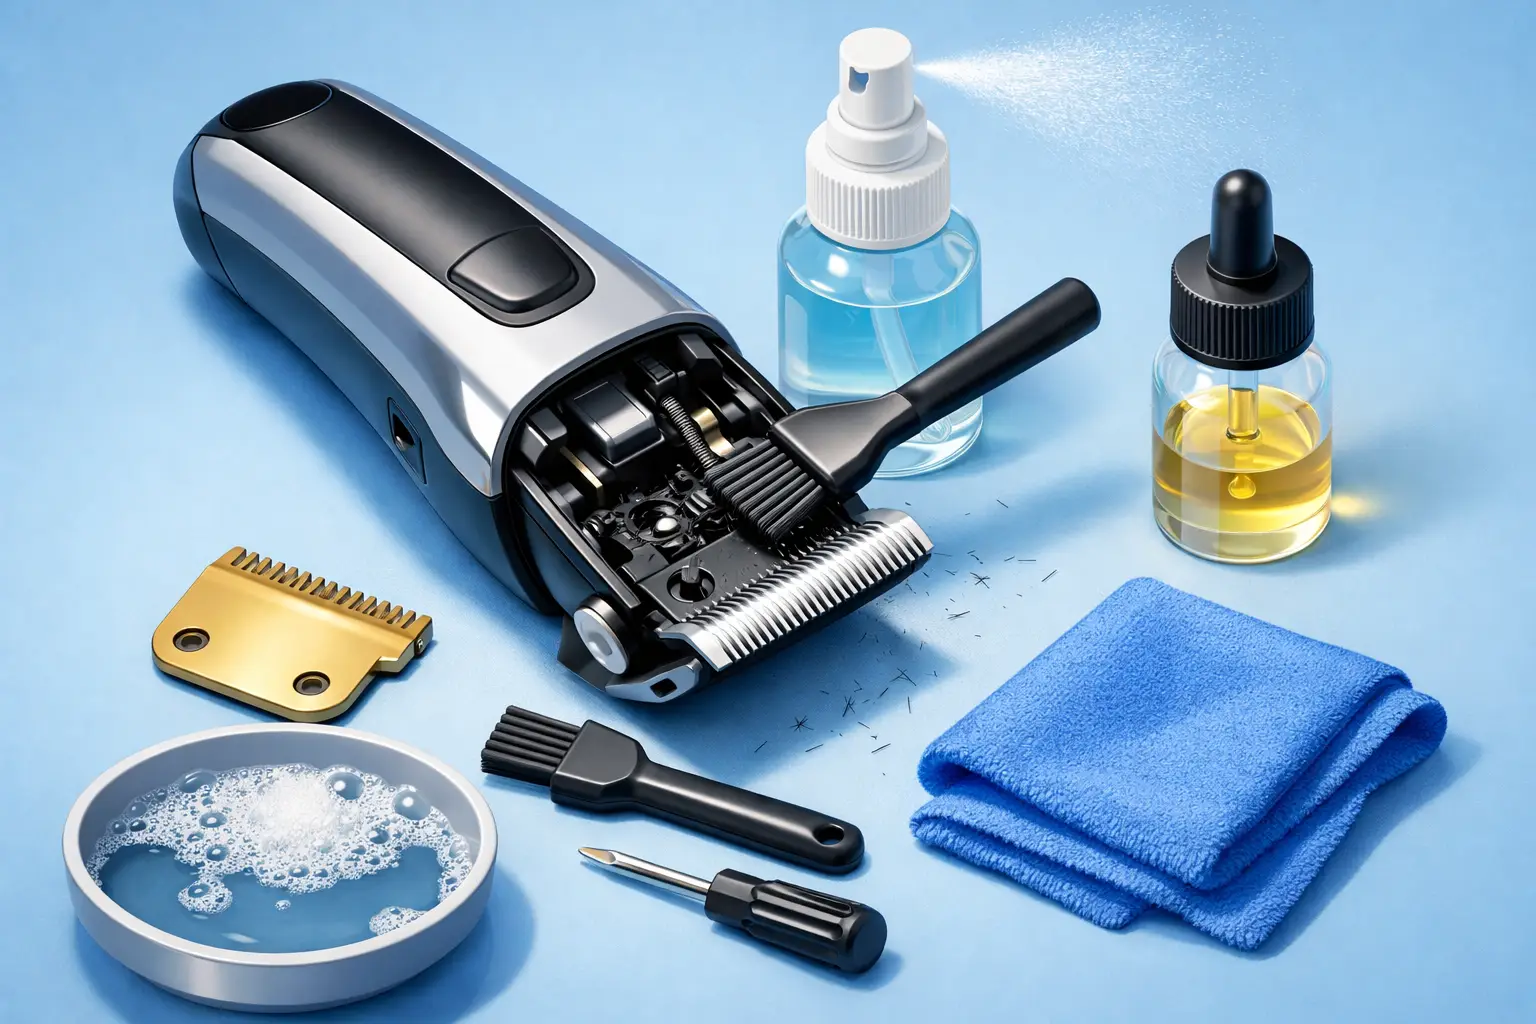
First, power the trimmer off and remove loose hair with a cleaning brush. Get into the teeth, the back of the blade, and the corners where product and cut hair collect. If your trimmer has a removable blade, take it off if the design allows for fast access. If not, brush as thoroughly as you can without forcing anything.
Next, use an approved disinfectant or blade-cleaning spray according to the product directions. Focus on the blade area and exterior surfaces that come into contact with skin or your hands. Let it sit for the proper contact time. Wiping it off too soon defeats the point.
Once the blade is dry, apply a small amount of clipper or trimmer oil. Usually a drop or two across the blade edge and one on each side is enough. Turn the trimmer on for a few seconds so the oil distributes evenly, then wipe away excess. Too much oil attracts more debris, so more is not better.
That whole routine only takes a couple minutes. In a busy shop, those couple minutes save you from fighting your tool all day.
The deeper clean your trimmers need at the end of the day
If you are running appointments back to back, your end-of-day clean is where you reset the tool. This is where many performance issues get caught early.
Start by turning the trimmer off and disconnecting it from power if it is corded. For cordless models, make sure it is off before you begin. Remove the blade if the manufacturer design allows it. Set screws somewhere safe because losing one tiny part can take a good trimmer off your station fast.
With the blade removed, brush out the inside housing carefully. This area often holds compacted hair that a surface clean misses. Use a dry cleaning brush first. If there is stubborn residue from oil, enhancement products, or heavy use, a blade wash or appropriate cleaning solution can help on the metal blade components. Just make sure you are not flooding the motor housing or battery area.
Clean the blade without damaging the edge
The blade is the business end, so treat it like one. Brush from the base outward to move debris away from the cutting edge. If you use a liquid blade cleaner, avoid scraping the teeth with anything hard. A damaged tooth can ruin precision and irritate skin.
For heavily used trimmers, inspect for signs of trouble while cleaning. Look for rust spots, chipped teeth, blade misalignment, or screws that have started to loosen. Cleaning time is also inspection time. That is how professionals prevent downtime.
Dry everything before reassembly
Moisture left in the blade area can lead to rust or poor movement. Before putting the trimmer back together, make sure the blade and surrounding parts are fully dry. Reattach the blade securely, then add oil sparingly and run the trimmer for a few seconds.
If the sound is off after reassembly, stop and check alignment. A blade put back on slightly crooked can cause noise, poor cutting, or skin nicks. This is one of those areas where rushing costs you later.
What to use to clean barber trimmers
You do not need a complicated setup, but you do need the right basics. A cleaning brush, blade-safe disinfectant or spray, proper trimmer oil, and a microfiber or clean dry towel handle most of the job. For busier barbers, blade wash can be useful for deeper maintenance, especially on detachable blades that see heavy buildup.
What you should not use matters too. Household degreasers, random alcohol mixes, or water-heavy cleaning methods can damage finishes, dry out moving parts, or push moisture where it should not go. Trimmers are precision tools, not bathroom hardware.
If you are serious about your equipment, stick with maintenance products made for barber tools. That is the difference between cleaning a trimmer and slowly wearing one down.
Common mistakes that shorten trimmer life
A lot of barbers know they should clean their trimmers, but the damage usually comes from how they clean them. The first mistake is over-oiling. Excess oil mixes with hair dust and turns into sludge. The second is under-cleaning the blade track and inner assembly, where hidden buildup affects performance most.
Another common mistake is using disinfectant like it is lubricant. Disinfecting and lubricating are not the same job. Spray can clean and sanitize, but the blade still needs oil afterward if you want smooth movement and less heat.
Then there is blade neglect disguised as loyalty. Some barbers keep using a blade long after it has dulled or chipped because the trimmer still turns on. Power does not equal performance. If the blade is damaged, cleaning will not bring it back.
How often should you deep clean barber trimmers?
It depends on your workload. If you are cutting all day in a shop, brush and disinfect between clients, then do a deeper clean every day. If you use trimmers lightly at home, a full clean every few uses may be enough, with quick brushing after each session.
Product use also changes the schedule. If you work around heavy enhancements, beard products, or thick bulk removal, residue builds faster. That means you need more than a casual wipe-down. Barbers who do a lot of sharp line work around the beard and neck usually see buildup quicker than they expect.
A good rule is simple: if the blade feels hotter, sounds louder, or cuts rougher, your maintenance schedule is too loose.
Storage matters after you clean barber trimmers
A clean trimmer tossed into a dirty drawer is back to square one. After cleaning, store the tool in a dry place where the blade is protected from dust, impact, and moisture. Use a blade cover if your model has one. Do not wrap the cord tightly around corded tools, and do not leave cordless trimmers on a station where loose hair can settle right back into the blade.
Shops with strong tool discipline usually get better life out of their gear. That is not luck. It is routine.
When cleaning is not enough
Sometimes the issue is not dirt. If your trimmer still pulls after cleaning and oiling, the blade may need replacement or realignment. If it runs hot even when clean, you may be dealing with motor strain or internal wear. If battery life drops off hard, no amount of brushing fixes that.
This is where honest diagnosis matters. Maintenance keeps a good tool performing. It does not turn a worn-out trimmer into a new one. Barbers who stay sharp know the difference.
At Encore The Barber, we look at tool care the same way we look at cutting – details matter. A clean trimmer is not just about upkeep. It is about execution, client comfort, and making sure your tools perform when your name is on the finished result.
Keep the routine tight, keep the blade clean, and your trimmers will keep showing up ready for work.
Share This :
Search
Recent Post
How to Set Trimmer Zero Gap Safely
July 3, 2026
How to Sharpen Lineup Edges Cleanly
July 1, 2026
When to Replace Clipper Blades
June 29, 2026